How to create and print an invoice with Astrojs and Tailwind CSS

How to create and print an invoice with Astrojs and Tailwind CSS

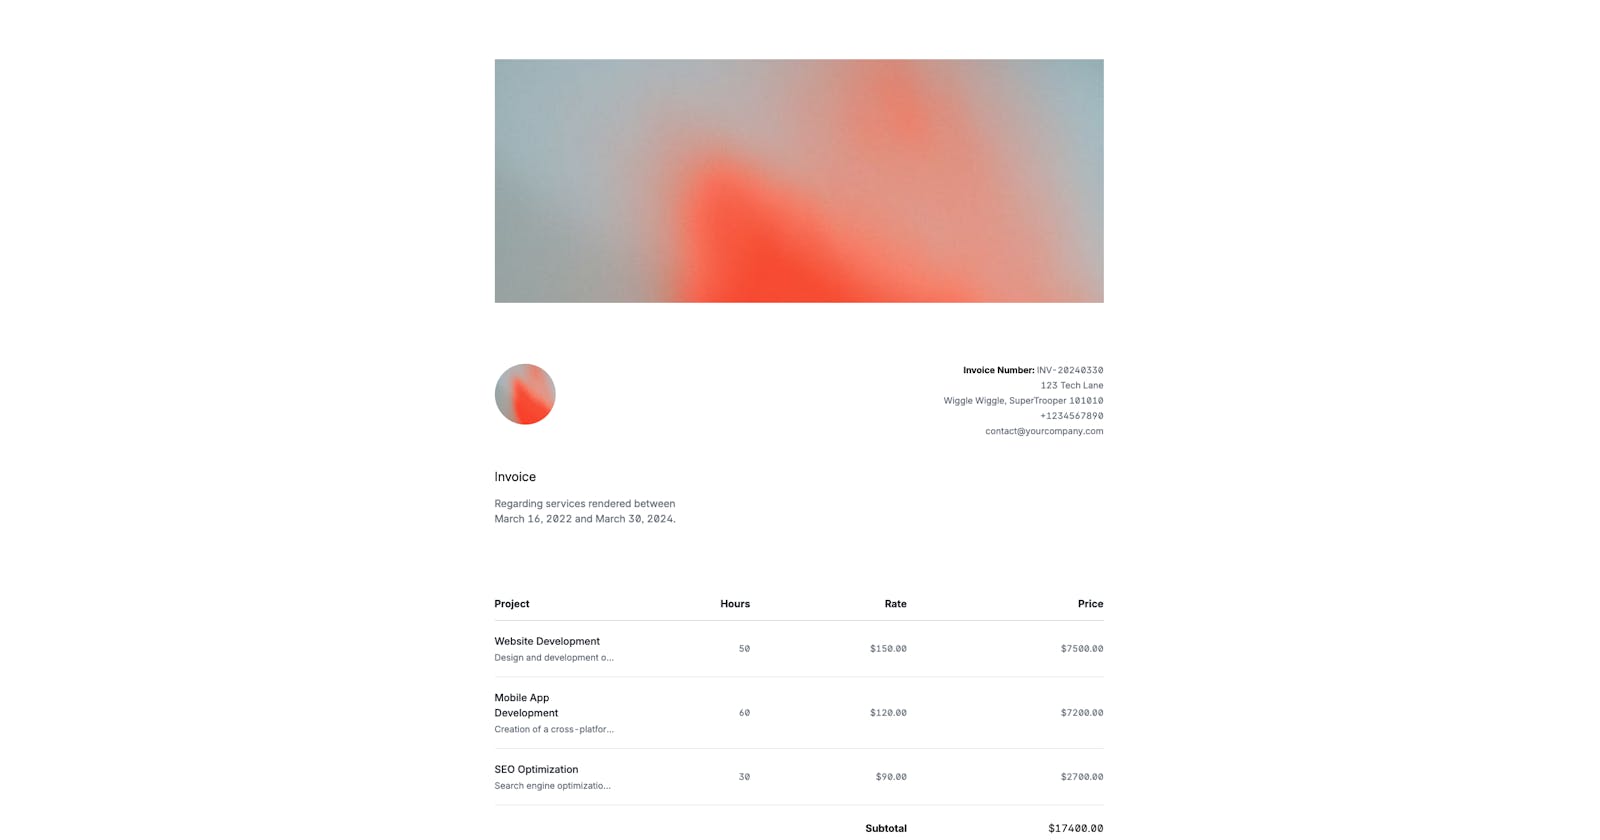
Creating a printable invoice layout is not easy, but today we are going to create one and learn what classes to use to print it the correct way.

See it live and get the code

Benefits of Using Tailwind CSS for Invoices

Before we create an inovice we need to know why do we need one, right?

  • Customization and Branding: Tailwind CSS's utility-first approach allows for deep customization, enabling businesses to craft invoices that perfectly align with their brand identity. This level of customization extends to colors, fonts, and layout, ensuring that every invoice reflects the business's aesthetic and values.

Use case: By utilizing Tailwind's theme configuration, businesses can define custom color palettes and typography that match their brand guidelines, making their invoices instantly recognizable.

  • Efficiency and Speed: Compared to traditional CSS methods, Tailwind CSS significantly speeds up the development process. Its utility-first approach means developers spend less time writing custom CSS and more time focusing on the invoice's functionality and user experience.

Use case: Creating a complex invoice layout can be as simple as adding a series of utility classes for flexbox, spacing, and border control, drastically reducing development time.

  • Responsiveness and Compatibility: In today's mobile-first world, ensuring invoices look great on any device is crucial. Tailwind CSS's responsive design utilities make it easy to create mobile-friendly invoices that adapt to different screen sizes, improving the user experience for both the sender and recipient.

Use case: Tailwind's responsive prefix (sm:, md:, lg:, etc.) can be applied to any utility class to adjust styles based on the screen width, ensuring invoices are readable and accessible on any device.

Practical Use Cases

  • Freelancers: Tailwind CSS can help freelancers create personalized invoice templates that stand out, helping to reinforce their personal brand with every invoice sent.

  • Web Development Agencies: Agencies can utilize Tailwind CSS to quickly generate invoices that match the visual identity of their clients, adding a professional touch to their billing process.

  • E-commerce Platforms: For platforms that need to generate dynamic invoices based on customer purchases, Tailwind CSS offers the flexibility to create templates that are both attractive and functional, enhancing the post-purchase experience.

  • Small Business Owners: Small businesses can benefit from Tailwind CSS by creating custom invoice templates without the need for extensive web development experience, saving costs and time.

Now, let's build the layout

The header:

  • flex: Establishes a flex container for flexible and responsive layout designs.

  • flex-col: Stacks elements vertically within a flex container.

  • justify-between: Distributes space between child elements evenly.

  • items-start: Aligns items to the start of the cross axis within a flex container.

<!-- Header image -->
<img class="h-96 object-cover object-top" src="..." alt="">
<div class="flex justify-between items-start mt-24">
  <img class="w-24 h-24 rounded-full" src="https://i.pinimg.com/564x/eb/b3/bd/ebb3bd6c322463cee8b7b17659792830.jpg" alt="Company Logo" />
  <div class="text-right text-sm space-y-1 text-gray-500">
    <p><strong class="text-black">Invoice Number:</strong> {invoiceNumber}</p>
    <p>{companyAddress.line1}</p>
    <p>{companyAddress.line2}</p>
    <p>{companyAddress.phone}</p>
    <p>{companyAddress.email}</p>
  </div>
</div>

The table wrapper

  • -mx-4: Applies negative horizontal margins to both the left and right sides of the element. This can extend the element's width beyond its container's padding or counteract surrounding elements' margins.

  • mt-24: Adds a top margin to the element. The value 24 is part of Tailwind's spacing scale, providing significant vertical separation from any elements above it.

  • flow-root: Establishes a new block formatting context. This utility ensures that the element contains its floated children, preventing them from affecting the surrounding layout. It's particularly useful for managing layouts with floated elements.

  • sm:mx-0: A responsive utility for small screens and above (sm: breakpoint). It sets the horizontal margins (left and right) to 0, neutralizing the -mx-4 effect on smaller screens. This ensures a consistent and responsive layout across different devices.

This combination of Tailwind CSS classes is designed to manage spacing, layout, and responsiveness efficiently, ensuring the element adapts appropriately across various screen sizes.

<div class="-mx-4 mt-24 flow-root sm:mx-0">
   <table class="min-w-full">
    <!-- Table content -->
      <thead>
        <!-- Table head content -->
      </thead>
      <tbody>
        <!-- Table head content -->
      </tbody>
       <tfoot>
        <!-- Table head content -->
      </tfoot>
   </table>
</div>

The table's head

The <thead> element is styled with several Tailwind CSS classes aimed at formatting the table header and ensuring responsiveness:

  • border-b border-gray-300: These classes apply a bottom border with a specific color, helping to visually separate the table header from the table body.

  • text-gray-900: Sets the text color for the table headers, ensuring high contrast and readability.

Within the <thead>, each <th> element uses classes for padding, text alignment, and conditional visibility or display adjustments:

  • py-3.5 pl-4 pr-3 text-left sm:pl-0: Applied to the "Project" header, adjusting vertical padding, left and right padding, and text alignment. The sm:pl-0 class removes left padding on small screens and above, optimizing spacing for responsiveness.

  • hidden px-3 py-3.5 text-right sm:table-cell: Used for "Hours" and "Rate" headers, this combination hides these elements by default (hidden) and then displays them as table cells (table-cell) on small screens and above. This behavior ensures that less critical information is hidden on smaller screens to maintain a cleaner layout and only shown when there's enough screen real estate.

  • py-3.5 pl-3 pr-4 text-right sm:pr-0: Applied to the "Price" header, this ensures consistent vertical padding and adjusts the right padding to be removed at the sm breakpoint, optimizing the layout for different screen sizes.

These classes collectively ensure that the table header is not only visually distinct and aligned with the design theme but also responds adaptively to different screen sizes, focusing on displaying more detailed information on larger screens while maintaining simplicity on smaller devices.

<thead class="border-b border-gray-300 text-gray-900">
   <!-- Table headers with conditional visibility for responsiveness -->
   <tr>
      <th scope="col" class="py-3.5 pl-4 pr-3 text-left sm:pl-0">Project</th>
      <th scope="col" class="hidden px-3 py-3.5 text-right sm:table-cell">Hours</th>
      <th scope="col" class="hidden px-3 py-3.5 text-right sm:table-cell">Rate</th>
      <th scope="col" class="py-3.5 pl-3 pr-4 text-right sm:pr-0">Price</th>
   </tr>
</thead>

The table's body

  • border-b border-gray-200: Applies a bottom border to each table row (<tr>), with a color of gray-200, ensuring visual separation between individual items in the invoice.

  • max-w-0: This class on the <td> element ensures that the content does not overflow its container. It's particularly useful in conjunction with truncate, preventing overly long text from breaking the layout.

  • py-5 pl-4 pr-3 sm:pl-0: These padding classes adjust the spacing inside the table cells. The sm:pl-0 class removes the left padding on small screens and above, adapting the layout for different screen sizes.

  • font-medium text-base text-gray-900: Applied to a <div> within a table cell, these classes adjust the font weight, size, and color, highlighting the project name for better readability.

  • mt-1 truncate text-gray-500: These classes are used on another <div> for the project description. truncate ensures that excessively long text is cut off and replaced with an ellipsis, preventing layout disruption.

  • hidden sm:table-cell: These classes control the visibility of the "Hours" and "Rate" columns. By default, these columns are hidden (hidden), but become visible as table cells on small screens and above (sm:table-cell), allowing for a responsive table layout that adapts to available screen space.

  • px-3 py-5 text-right text-sm text-gray-500: Adjusts the padding, text alignment, size, and color of the table cells, ensuring content is neatly aligned and readable.

  • sm:pr-0: Removes right padding on small screens and above for the "Price" column, fine-tuning the cell's layout in response to screen width.

<tbody>
   <!-- Dynamically generated rows for each project -->
   {
   invoiceData.map((item) => (
   <tr class="border-b border-gray-200">
      <!-- Responsive cell design for project details -->
      <td class="max-w-0 py-5 pl-4 pr-3 text-sm sm:pl-0">
         <div class="font-medium text-base text-gray-900">{item.project}</div>
         <div class="mt-1 truncate text-gray-500">{item.description}</div>
      </td>
      <!-- Conditional visibility for hours and rate -->
      <td class="hidden px-3 py-5 text-right text-sm text-gray-500 sm:table-cell">{item.hours}</td>
      <td class="hidden px-3 py-5 text-right text-sm text-gray-500 sm:table-cell">${item.rate.toFixed(2)}</td>
      <!-- Price always visible -->
      <td class="py-5 pl-3 pr-4 text-right text-sm text-gray-500 sm:pr-0">${item.price.toFixed(2)}</td>
   </tr>
   ))
   }
</tbody>
  • text-right: Aligns the text to the right side of the table footer (<tfoot>) cells, ensuring consistency in the presentation of numerical data.

  • hidden sm:table-cell sm:pl-0: These classes are applied to the <th> elements and control their visibility and padding. By default, these elements are not displayed (hidden), but they become visible as table cells on small screens and above (sm:table-cell). The sm:pl-0 removes left padding at the small screen breakpoint, adjusting the layout for a cleaner look.

  • pl-4 pr-3 pt-6: This set of padding classes is applied to the <th> elements to provide space around the text, enhancing readability and aesthetic appeal. The padding-top (pt-6) is specifically noteworthy for adding vertical space between rows, aiding in the separation of each summary row for clarity.

  • pl-3 pr-4 pt-6 sm:pr-0: Similar to the <th> padding but applied to the <td> element containing the subtotal amount. The right padding is removed on small screens and above (sm:pr-0), adjusting the layout responsiveness.

  • pt-4: Applied to both <th> and <td> elements in the tax and total rows, this class reduces the top padding compared to the subtotal row, creating a visual hierarchy and subtle grouping of the summary information.

These Tailwind CSS classes work together to ensure the table footer is responsive, neatly organized, and visually distinct from the rest of the table content. The conditional visibility (hidden, sm:table-cell) and padding adjustments (sm:pl-0, sm:pr-0) are particularly important for adapting the layout across different screen sizes, ensuring that the summary information is presented clearly and effectively.

<tfoot>
   <!-- Subtotal row with conditional visibility for responsive layout -->
   <tr class="text-right">
      <th scope="row" colspan="3" class="hidden pl-4 pr-3 pt-6 sm:table-cell sm:pl-0">Subtotal</th>
      <td class="pl-3 pr-4 pt-6 sm:pr-0">${totals.subtotal.toFixed(2)}</td>
   </tr>
   <!-- Tax row -->
   <tr class="text-right">
      <th scope="row" colspan="3" class="hidden pl-4 pr-3 pt-4 sm:table-cell sm:pl-0">Tax</th>
      <td class="pl-3 pr-4 pt-4 sm:pr-0">${totals.tax.toFixed(2)}</td>
   </tr>
   <!-- Total row -->
   <tr class="text-right">
      <th scope="row" colspan="3" class="hidden pl-4 pr-3 pt-4 sm:table-cell sm:pl-0">Total</th>
      <td class="pl-3 pr-4 pt-4 text-right text-sm font-semibold text-blue-600 sm:pr-0">${totals.total.toFixed(2)}</td>
   </tr>
</tfoot>

As an option, you can also add a footernote on your invoice, just like this:

<!-- Footnote section for additional information, positioned at the bottom -->
<div class="mt-24 pt-12 border-t text-sm text-gray-500">
   <!-- Rendered footnote text -->
   <p><strong>Note:</strong> {footnote}</p>
</div>

Printing the invoice

At the end of the day, you might aswell want to print the invoice, so Tailwind CSS allows you to use print classes, here is a list.

  • print:text-[size]: Sets the text size in the print layout. For example, print:text-lg would apply a larger text size when printed.

  • print:font-[weight]: Adjusts the font weight for printing. Using print:font-bold makes the text bold in the printout.

  • print:text-[color]: Changes the text color in the printed version. For instance, print:text-black ensures the text prints in black, regardless of its color on screen.

  • print:bg-[color]: Sets the background color for printing. print:bg-white can be used to ensure a white background in printouts.

  • print:leading-[value]: Controls the line height in printed documents. print:leading-normal could set a standard line height for the print version.

  • print:border-[color]: Defines the border color for elements in the print layout. print:border-black might be used to ensure borders are visible when printed.

  • print:p-[value], print:px-[value], print:py-[value]: Adjusts padding in the print layout, similar to how padding is controlled on screen but specifically for printing.

  • print:m-[value], print:mx-[value], print:my-[value]: Controls margins in the print layout, allowing for custom spacing around elements in printed documents.

  • print:hidden: Hides elements in the printed document, which can be useful for excluding parts of the page that are not needed in the printout, like navigation menus.

  • print:block, print:inline-block, print:flex: Changes the display property for printing, allowing you to alter the layout for the printed version. For instance, print:flex could be used to organize elements horizontally in print, even if they are stacked vertically on screen.

  • print:w-[value], print:max-w-[value]: Sets the width and maximum width of elements for the print layout, ensuring that elements fit within the page margins.

  • print:text-center, print:text-right, print:text-left: Aligns text specifically for the printed page, which can help in adjusting the text alignment in headers or footers for printed documents.

These print-specific classes enable precise control over how a webpage is rendered in print, ensuring that the printed version meets specific formatting and styling requirements.

Now we know how to create an invoice layout!

Did you find this article valuable?

Support Michael Andreuzza by becoming a sponsor. Any amount is appreciated!